

Roll to Roll Printing is the best way to produce high-quality graphics on flexible media for banners, vinyl, and large-format branding when you need speed, consistency, and scale. For an overview of the service, see Roll to Roll Printing.
What is roll to roll printing, in plain terms?
Roll to roll printing is a process where flexible material feeds from a roll through a large-format printer and is collected back onto a roll for finishing. It is designed for prints that need to bend, wrap, hang, or apply to surfaces, which makes it ideal for items like banners, decals, and adhesive graphics. The big advantage is repeatable output at scale, so your colours, alignment, and sizing stay consistent across multiple prints and reorders.
Roll to Roll Printing: how do you choose between indoor and outdoor media?
Choose media based on the environment first, then the lifespan, then the handling. Indoor installs can prioritise appearance and fine detail because they are protected from harsh sun, rain, and abrasion, while outdoor installs must prioritise UV exposure, moisture, wind load, and regular cleaning. If you are unsure, select as if it is outdoor because it is easier to “overbuild” durability than to replace faded or damaged graphics after a few weeks.

What are the main media types, and what is each one best for?
The most common media types fall into a few practical buckets: adhesive vinyl for signage and surface graphics, banner material for high-visibility messaging, and specialty films for windows and light-related effects. Vinyl is often the most versatile because it can be cut, applied, and finished in many ways, while banner media is built for visibility at distance and durability when tensioned or hung. If your project is primarily vinyl based and needs clean application and edge control, use Vinyl Printing as the most relevant service reference.
How do you pick the right media for the surface it will be applied to?
The surface decides the rules. Smooth glass and painted panels usually accept a wider range of films and vinyl, while textured walls, rough plastics, and curved surfaces demand more flexible materials and more careful installation planning. Think about whether the surface is porous, whether it is exposed to heat or direct sun, and whether people will touch it often, because these factors affect adhesion, shrinkage risk, and edge durability. If you match the media to the surface upfront, the install looks cleaner and lasts longer.
When should you laminate, and when is lamination not worth it?
Lamination is worth it when the print will face sunlight, frequent handling, cleaning, or abrasion, because it adds a protective layer that improves scuff resistance and helps the graphic keep its finish. It is often not worth it for short-term indoor promotions that will not be touched or cleaned, where speed and budget matter more than long-term wear. The simplest rule is: if the print needs to look “new” for a long time, laminate it; if it is a temporary campaign in a protected space, you can usually skip it.
How do matte vs gloss finishes affect readability and perceived quality?
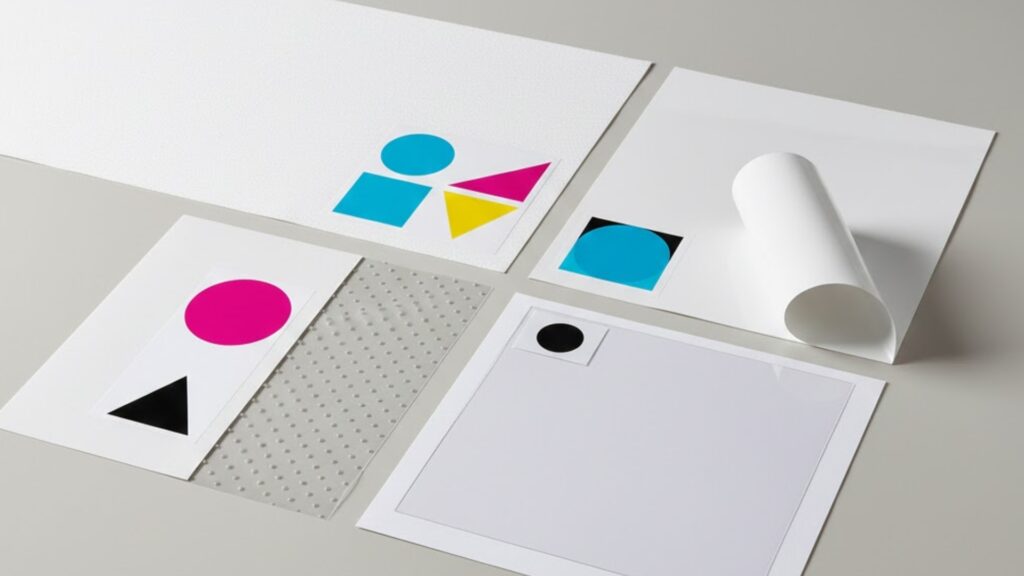
Finish changes how the print reacts to light, which affects readability more than most people expect. Gloss can make colours look punchier but can create glare on windows, shopfronts, and bright interiors, which can make text harder to read from certain angles. Matte tends to reduce glare and can feel more premium and modern, especially in retail and office environments, but can appear slightly less vivid depending on the design. If legibility is the priority, choose the finish that performs best under the real lighting conditions, not the lighting in your design mockup.
What is the best media choice for banners, and what mistakes ruin banner jobs?
Good banners are about visibility, strength, and correct finishing for how they will be mounted. Use banner media that matches the environment and plan the finishing around the install method, like eyelets for tie-down points or hems for reinforcement. The biggest mistakes are using indoor-only media outdoors, underestimating wind load, and placing key text too close to edges where hems and hardware reduce readability. For banner-specific production direction, use Banner Printing as the service reference.
How do you choose media for windows and storefronts without regrets?
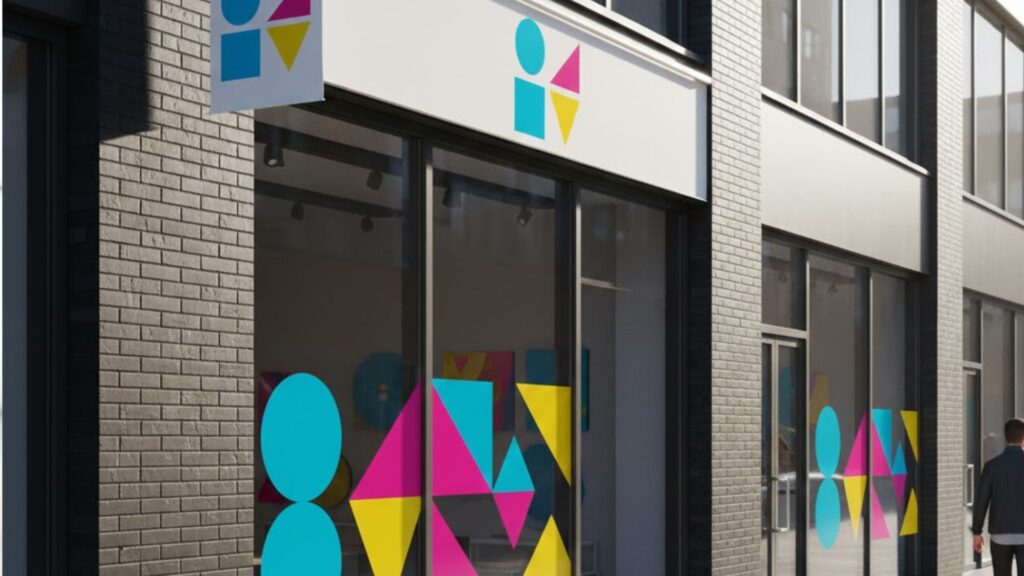
Window and storefront graphics need to balance light, visibility, privacy, and readability from multiple angles throughout the day. The wrong media choice can cause glare, washed-out colour, or a result that blocks more light than expected. Plan for viewing distance, sunlight direction, and the time of day people will see it most, then select media that supports that reality. If you need a straightforward way to frame the environment decision, use Indoor and Outdoor as a guide when selecting materials.
What file-prep issues cause blurry prints, colour shifts, or install headaches?
The usual culprits are low-resolution artwork, scaling up after design, inconsistent brand colours across files, and layouts that ignore trim, hems, or hardware zones. Supply artwork at final size where possible, use high-quality images, keep critical text away from edges and finishing areas, and include bleed when backgrounds run to the edge. If you want the general concept behind this category of production, Wikipedia’s overview of large format printing is a useful reference point, but the real-world win is simply preparing files for the exact finish and install method.
How do you brief Big Sky so you get the right media the first time?
Brief the environment (indoor or outdoor), the intended lifespan, the surface it will be applied to, viewing distance, and whether it will be touched or cleaned often, then add the size, quantity, and deadline. Include any finishing needs like lamination, hems, eyelets, or cut-to-shape requirements so production can quote accurately and avoid assumptions. When you are ready to lock specs and turnaround, send the full details through Contact Us.